
BLOG
BLOG
Common Quality Issues in Low-Cost Gearboxes and How to Identify Them
ddAn inexpensive gearbox is not automatically a bad gearbox. In lighter-duty work, many lower-cost models can run without major issues for years. The trouble usually comes from inconsistent manufacturing standards. One unit may perform normally, while another develops problems early due to poor gear machining, weak heat treatment, lower-quality bearings, or seals that struggle against dust and moisture.
Compared with better-controlled production, budget products often provide less technical information and make quality harder to verify. This article looks at several common warning signs and practical inspection methods that may help reduce the risk of unexpected gearbox failure in actual field use.
Let’s start before installation
Most organizations only “inspect” a gearbox after it fails. A 20–30 minute incoming check catches a large fraction of defects and shipping damage.
Nameplate and traceability: verify ratio, rated torque, input speed limits, lubrication spec, mounting orientation, and presence of a serial number. Lack of traceability is not proof of poor quality, but it makes warranty and root-cause work nearly impossible.
External machining cues: look for uneven gasket squeeze-out, burrs around bores, poorly chased threads, and paint in sealing surfaces. These correlate strongly with rushed finishing processes.
Shaft feel test: rotate input and output by hand (where practical). Any “notchy” feel, rubbing, or periodic tight spots suggests bearing preload errors, eccentricity, or gear geometry issues.
Backlash sanity check: a quick hand check (without instruments) can flag excessive play. If you can feel a large dead-band at the output, plan a measured backlash test before commissioning.
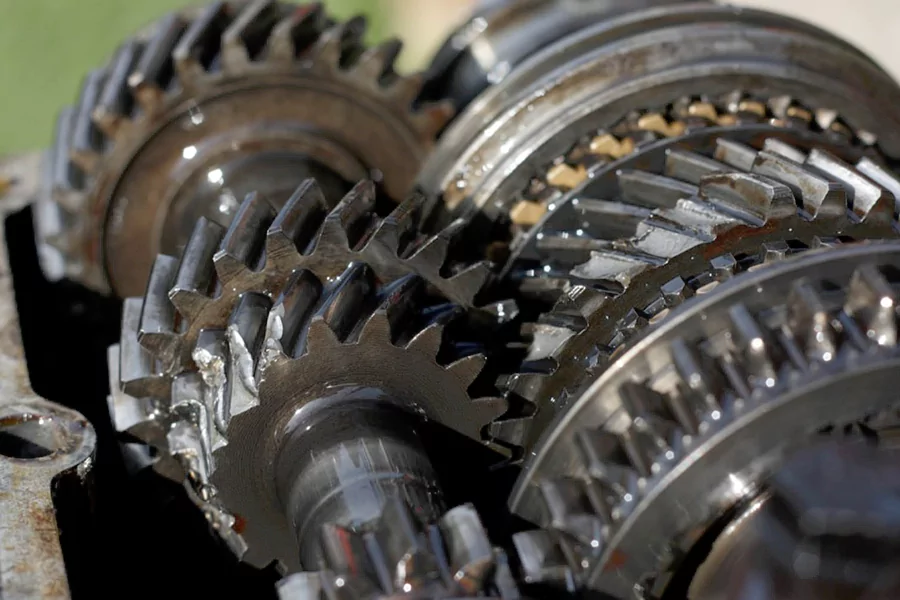
Quality issue #1: Poor gear tooth geometry and surface finish
Gearboxes live and die on contact conditions. Low-cost units frequently show greater variation in involute accuracy, lead, and profile, which concentrates load on small regions of the tooth. Even if the gearbox runs, it runs “hotter” and noisier, and it sheds metal into the oil sooner.
Symptoms: high-pitched whine, elevated temperature at steady load, and early oil darkening.
How to identify it without metrology lab tools: measure temperature rise and noise at a consistent load, then compare to a known-good baseline. If you do teardown access, inspect the tooth flanks for uneven polishing, scuffing, or early micropitting.
What you may see: “frosted” tooth flanks (micropitting), axial streaks (misalignment), or localized blue/brown discoloration (scuffing from boundary lubrication).
Quality issue #2: Excessive backlash and poor torsional stiffness
Budget gearheads often ship with larger backlash and lower torsional stiffness. For conveyors and mixers this may be acceptable; for indexing tables, robotics, or any positioning axis it can be a deal-breaker. Excess backlash also increases impact loading, which accelerates tooth damage.
How to measure backlash (shop-floor method)
Lock the input shaft (or hold it with a strap wrench if you cannot rigidly lock it).
Attach a dial indicator to the housing; contact the indicator tip on a feature of the output shaft (keyway, coupling hub, or a bolted lever arm).
Rotate the output gently in one direction until it stops, zero the indicator, then rotate in the opposite direction until it stops.
The indicated travel is backlash at that radius. Convert to angular backlash if needed for your specification.
Interpretation: do not compare one gearbox to a generic “acceptable” number; compare to the manufacturer’s stated backlash range (or to a proven reference unit in the same application).
Quality issue #3: Bearing quality and preload/fit errors
Many gearbox failures that look like “gear” problems are actually bearing problems: poor bearing grade, contamination introduced during assembly, incorrect preload, or poor fit between bearing outer race and housing bore.
Symptoms: growling noise, vibration peaks at bearing defect frequencies, rapid temperature rise near end caps, and a gritty feel when turning by hand (unloaded).
How to identify it: use a mechanic’s stethoscope (or an ultrasound probe) at bearing locations; compare left/right sides. If you have vibration data, trend overall velocity and look for developing high-frequency content.
In teardown, look for fretting corrosion on bearing seats (a sign of micro-movement) and for uneven contact patterns that suggest misalignment.
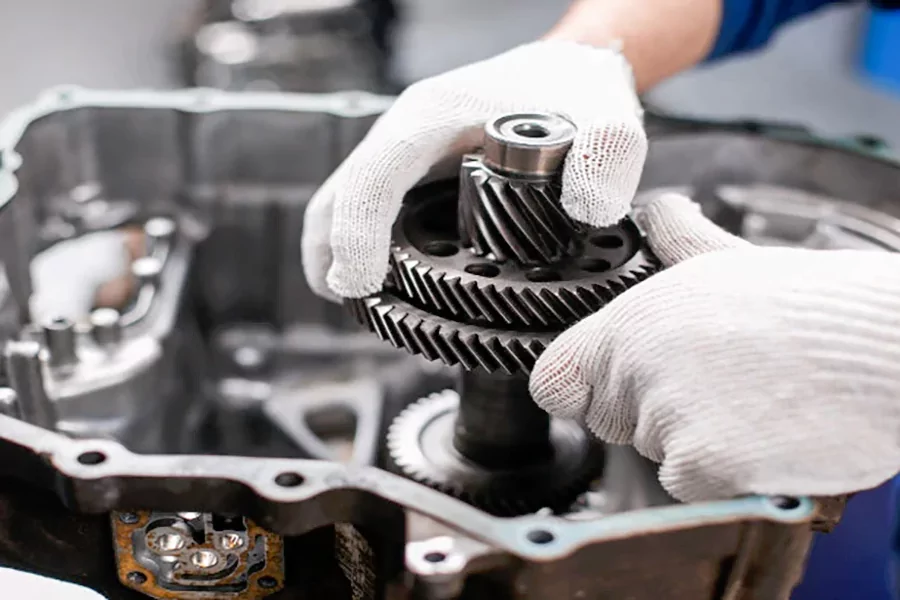
Quality issue #4: Seals that leak, breathe, or ingest contamination
Seal performance is where low-cost units often fail quickly in dusty, wet, washdown, or abrasive environments. A seal that weeps will eventually also inhale contaminants as the gearbox heats and cools (pressure cycling). Once contaminants enter, wear accelerates nonlinearly.
Symptoms: wet housing around seals, oil level drift, milky oil (water), and sludge.
How to identify it: inspect after the first heat cycle; recheck after 8–24 hours of operation. Verify breather type and placement for the mounting orientation. A blocked or absent breather is a common cause of seal push-out and chronic weeping.
Quality issue #5: Lubrication mis-specification and early oil breakdown
Low-cost gearboxes are more sensitive to oil selection because tooth finish, alignment, and internal friction tend to be less forgiving. “It shipped with oil” is not the same as “it shipped with the right oil for your duty cycle.”
Red flags: unclear viscosity grade, no mention of EP additives where expected, or no guidance for ambient temperature range.
Field checks: trend operating temperature with an infrared thermometer at a consistent load; document ambient temperature; check oil color and odor; and sample for cleanliness (even basic particle/water screening provides value).
Quality issue #6: Housing rigidity, alignment, and thermal behavior
A gearbox is a structural component. Thin or porous castings, poorly machined faces, and mislocated bearing bores create alignment errors that become worse as the unit heats up. Aluminum housings can be excellent when engineered correctly, but a low-grade casting combined with marginal machining can allow shaft center distance to drift under load and temperature.
Symptoms: noise that changes with temperature, repeatable “hot spots,” and gear wear biased to one side of the tooth.
How to identify it: check mounting flatness, verify fastener torque, and verify coupling alignment. If you can inspect internals, use marking compound on a few teeth to see whether the contact patch is centered versus pushed to heel/toe.
A practical “screening checklist” for buyers and maintenance teams
Before purchase: request backlash range, efficiency, noise rating (if available), bearing life basis (e.g., ISO 281), and gear rating basis (e.g., AGMA/ISO design references). Ask for a lubrication spec that includes viscosity and additive type.
Before installation: perform the incoming inspection above; document baseline noise and temperature at low load.
First week in service: re-torque mounting fasteners (where allowed), inspect for weeping, and recheck temperature under normal load.
First oil change interval: pull an oil sample; inspect drain plug magnets; record debris level and trend it.
REQUEST A QUOTE
OR GET MORE
INFORMATION
Leave us a message. We will contact within 12 hours.